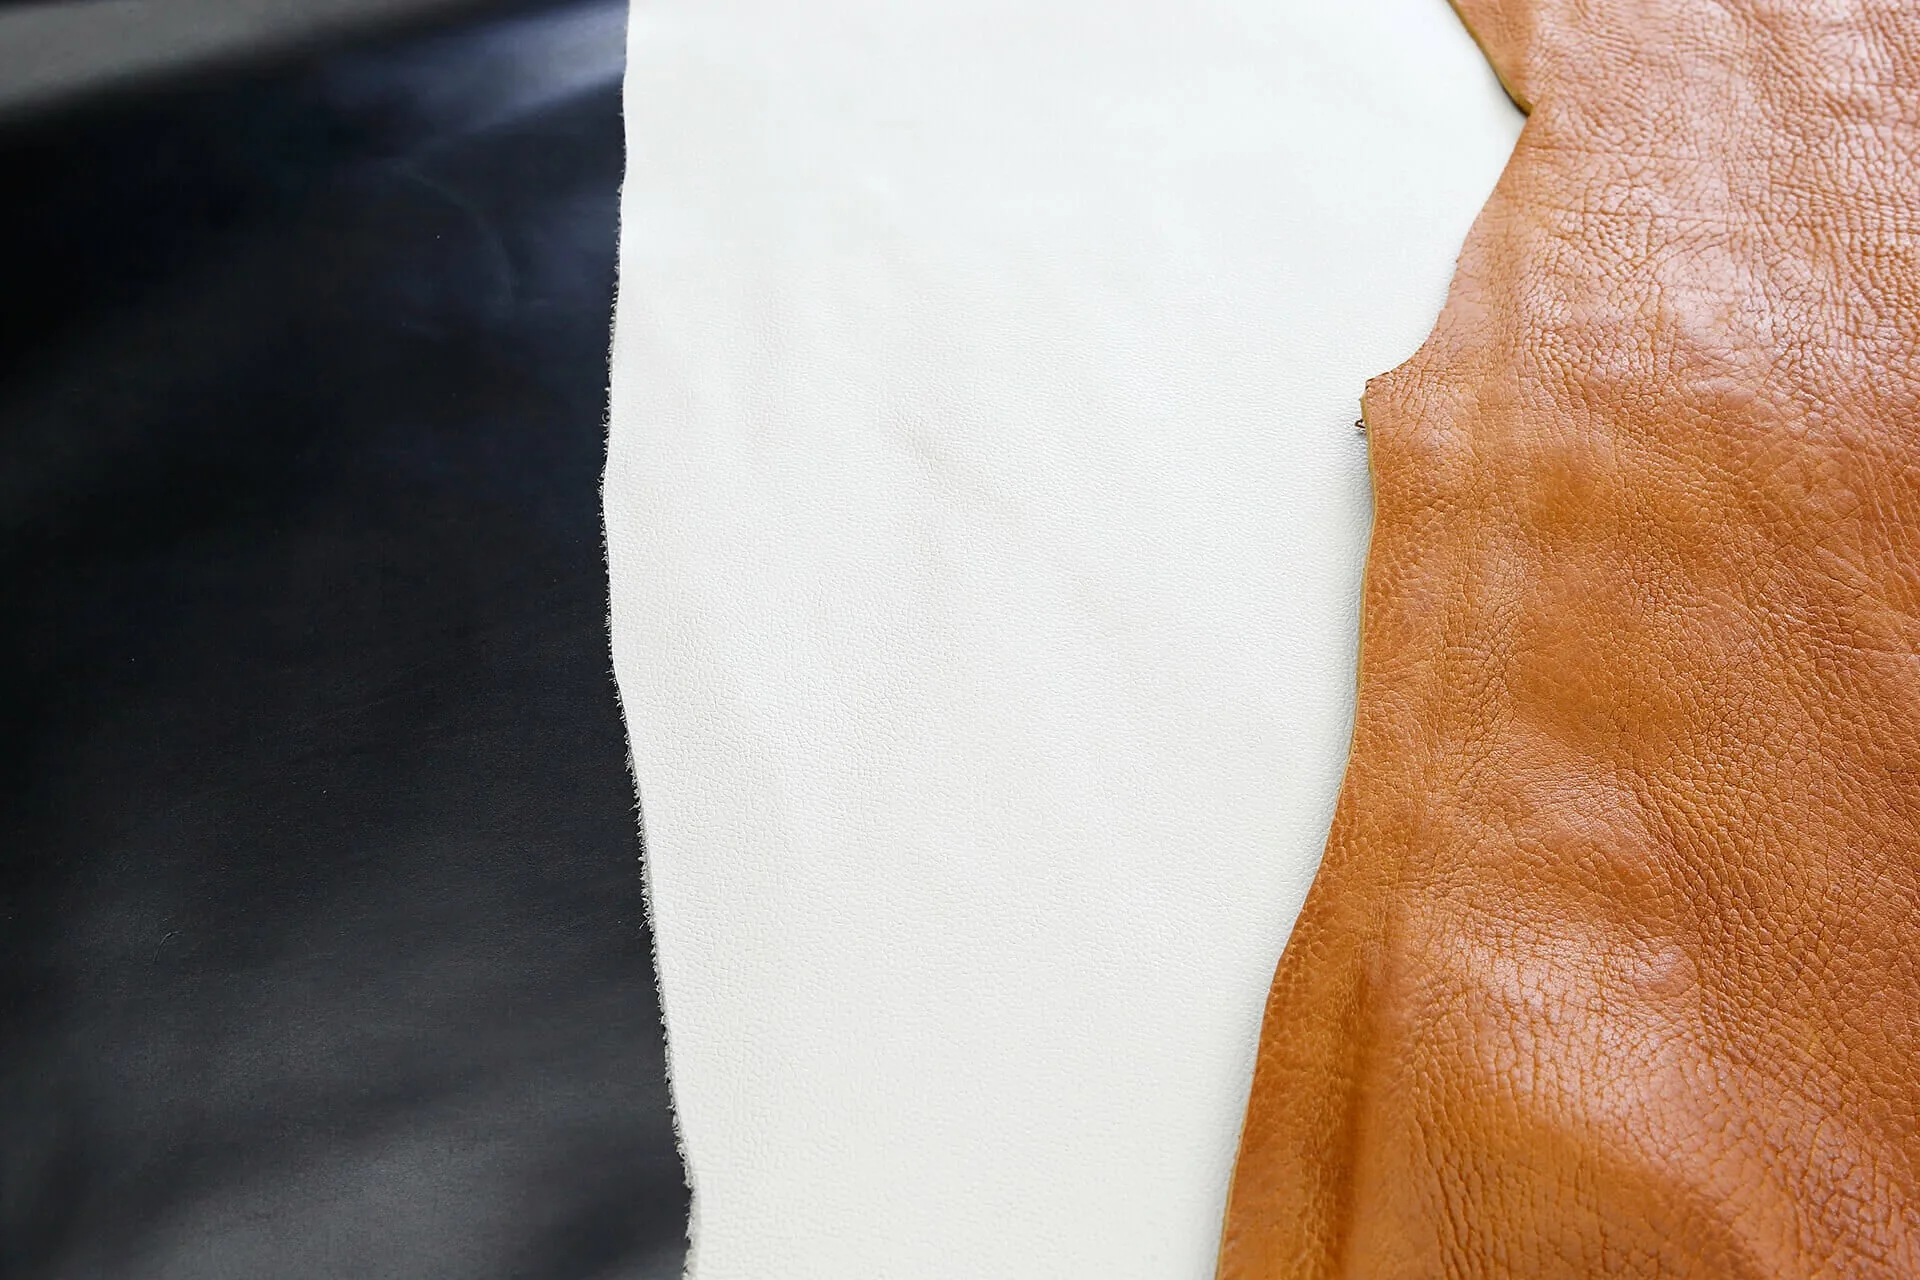
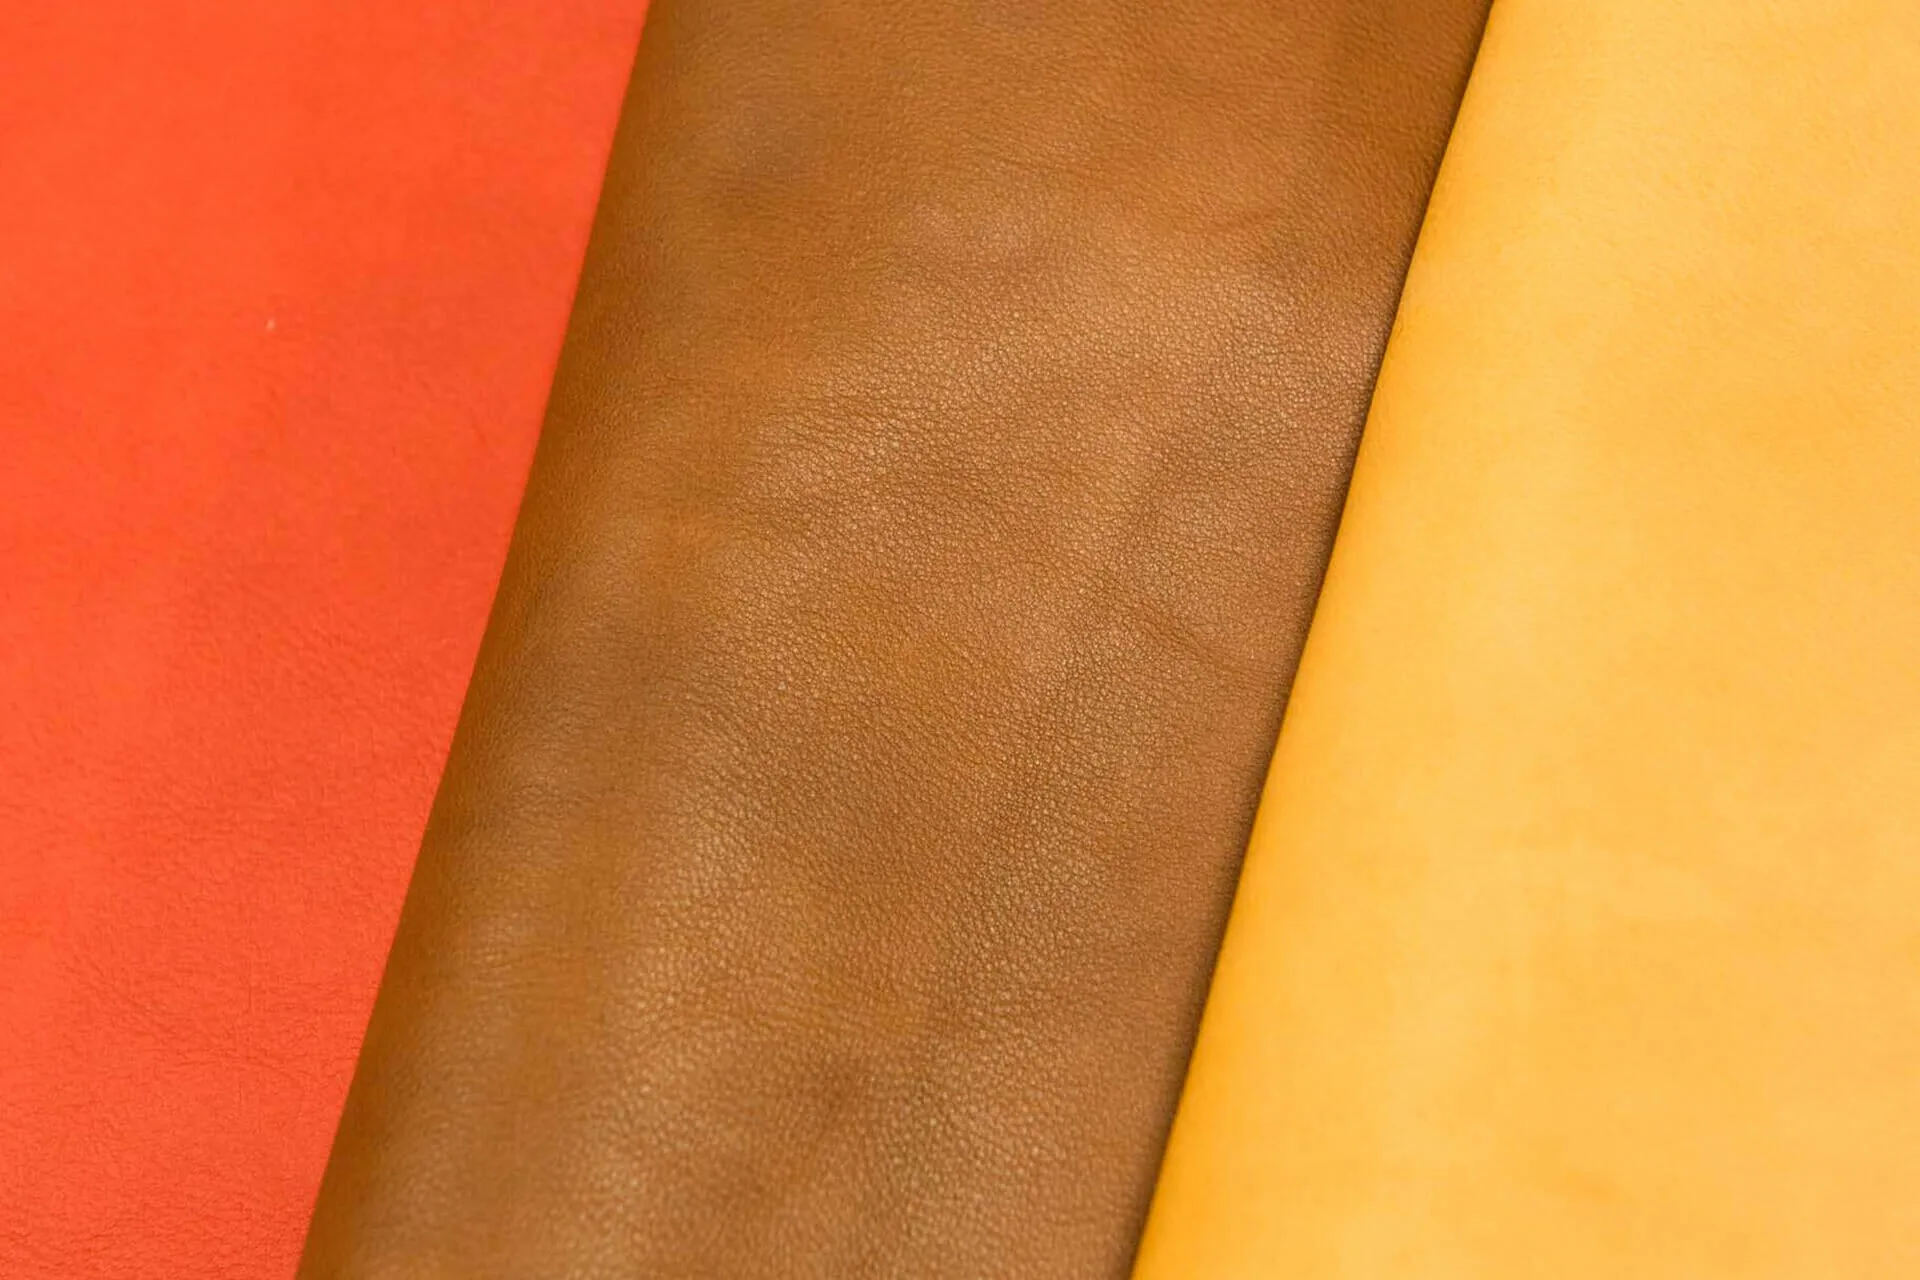
A hide becomes leather through a process called tanning. Tanning agents are bonded to the collagen fibers of what was once an animal's skin, turning it into supple leather. Most of the rawhides used for leather goods are imported from overseas, but there are many tanneries in Japan that carry out the tanning.
Today there are two main tanning methods: vegetable tanning, which uses plant-derived tannins, and chrome tanning, which uses basic chromium sulfate. The way the tanning chemicals are formulated makes a big difference to the quality of the finished leather.
The broad steps of tanning are much the same at any tannery, but there are differences here and there, and those differences are what give each tannery its originality.
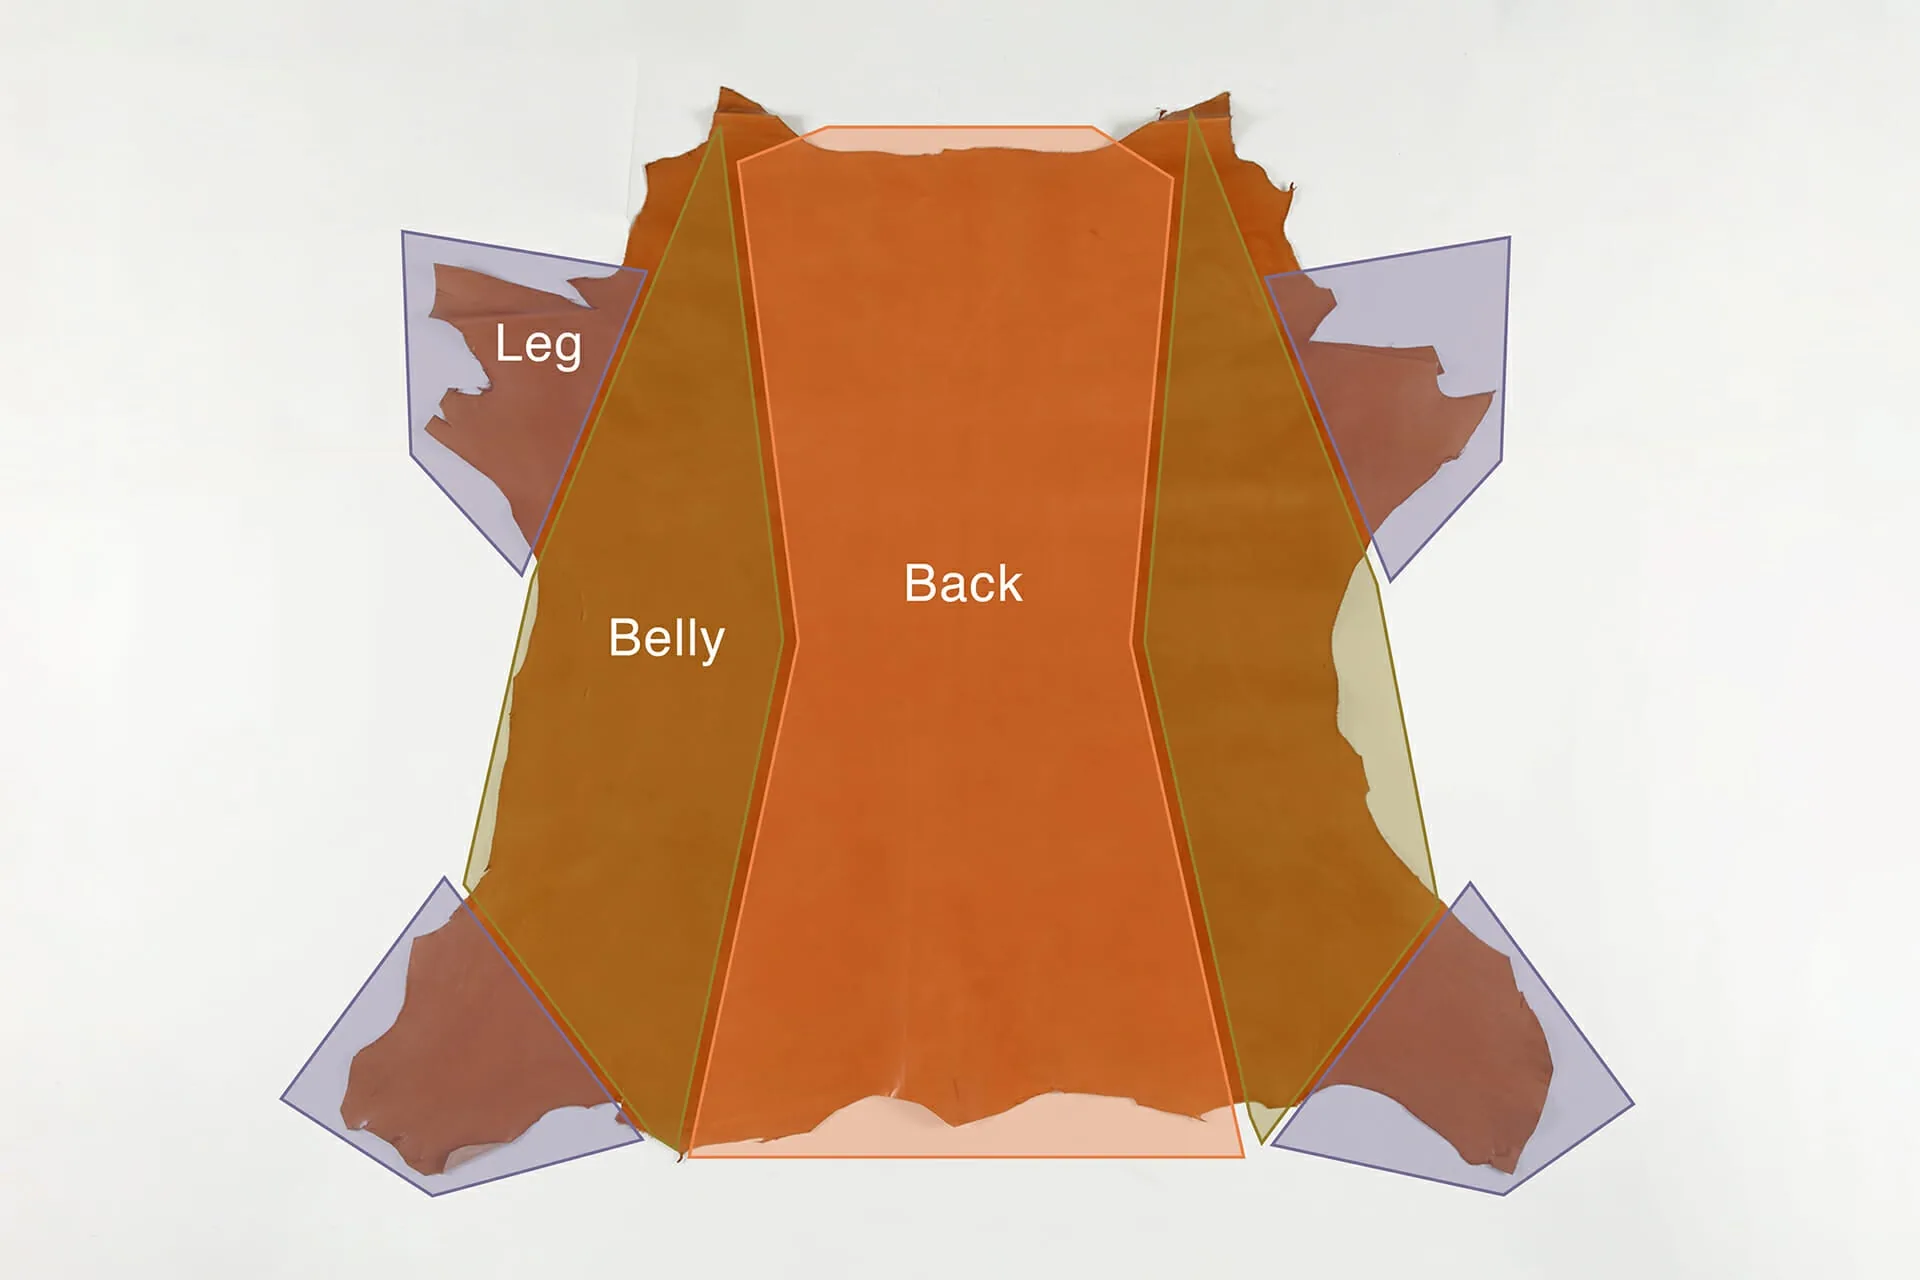
For example, at Sanyo, the tannery that guided us for this article, the hides are split down the backbone only after tanning is complete. The company's Shioda explained:
“This way we can take a larger flesh split, which is more efficient.”
In recent years, more creators and designers have been visiting tanneries in person to place orders, and more tanneries have been planning and making products of their own. Each tannery has its own recipe, and tanning is where accumulated skill breathes life into leather. It is a remarkable craft that is well worth knowing about.
The two major tanning methods
Chrome tanning
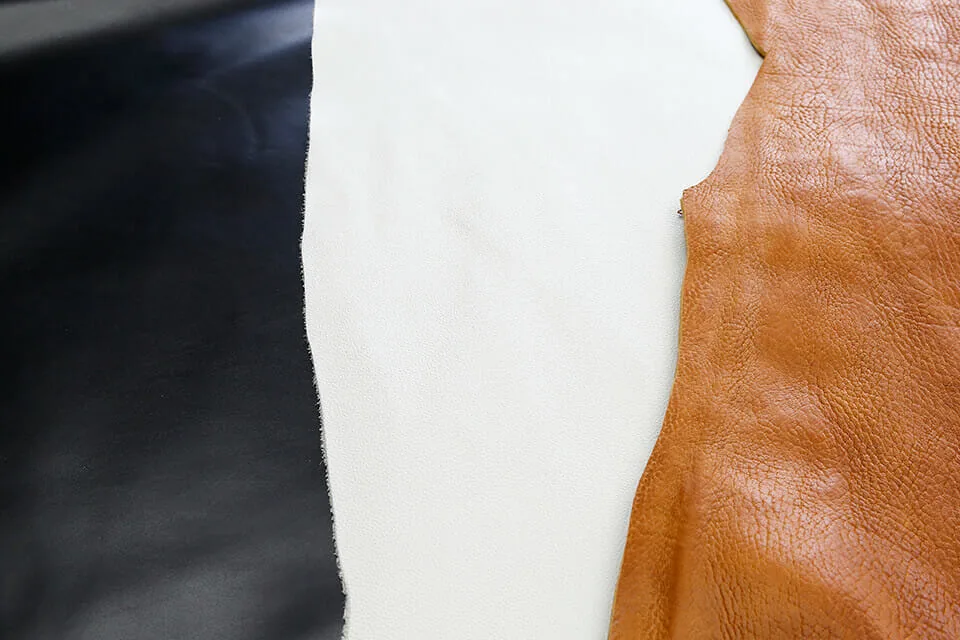
A method that uses basic chromium sulfate as the tanning agent. It takes far less time than vegetable tanning. The leather takes color well, has good stretch and water resistance, and is soft and easy to work. Most leather used for clothing is chrome-tanned.
Vegetable tanning
A method practiced since ancient times, using astringent tannins extracted from plants. The full process can take several weeks. The resulting leather is firm and durable, and is used for items such as men's bags. It absorbs dyes well, but nume leather, left in the natural color of the tannins themselves, has a charm of its own.
The tanning process
1. Preparation
[Rawhide to liming]
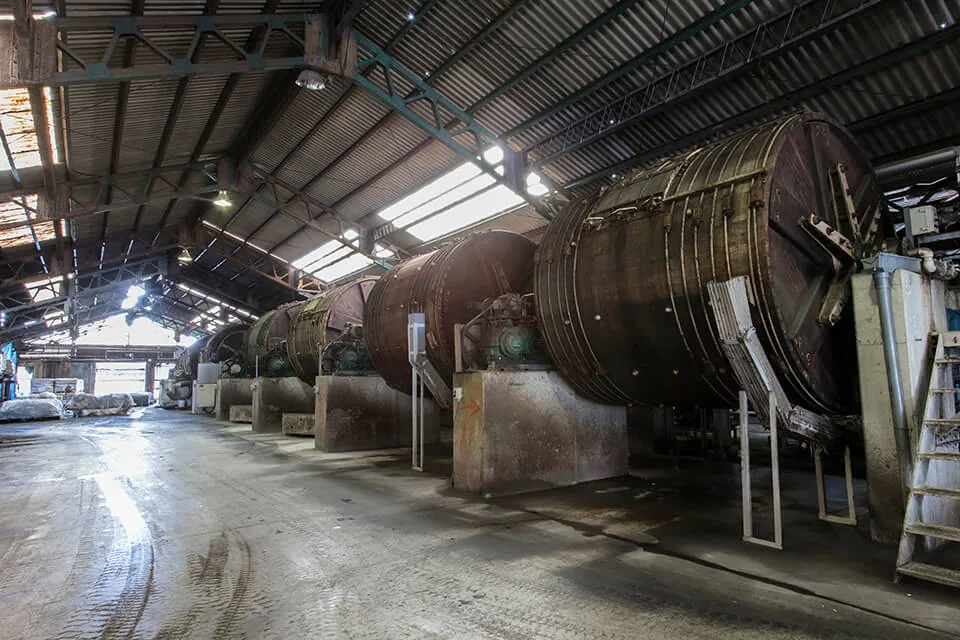
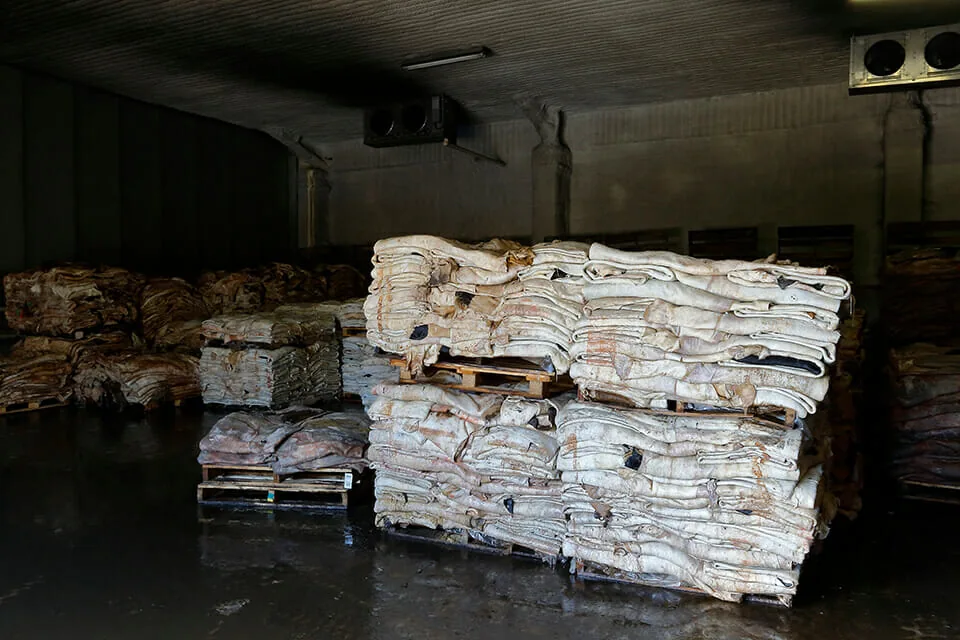
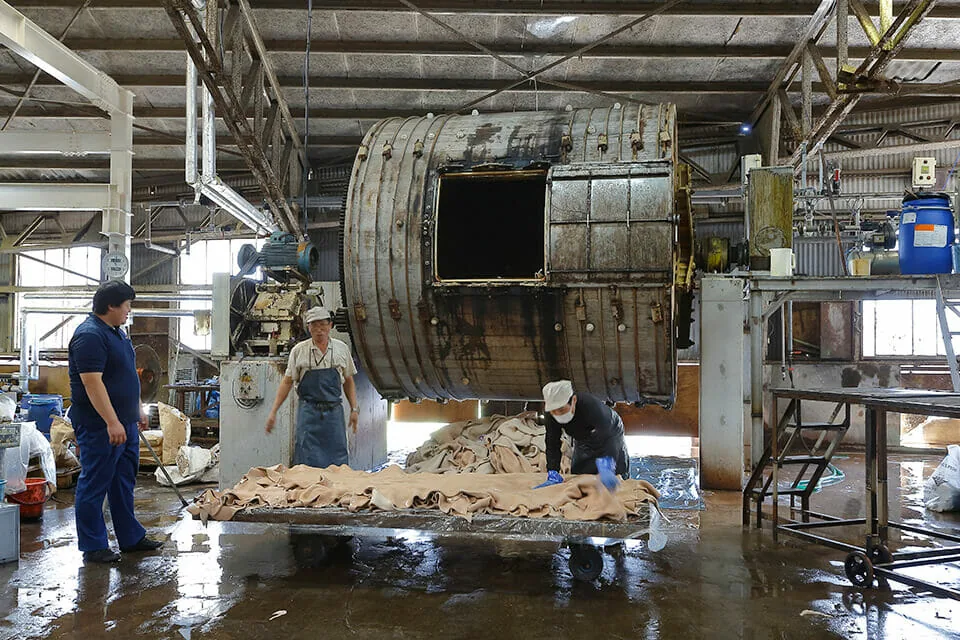
Most rawhides are imported from overseas, arriving salted to prevent decay. Before tanning, they are washed in a drum to remove the salt and dirt and to rehydrate them. Once soaked, they are steeped in lime to loosen the fibers. To improve efficiency, large hides are cut in half along the backbone at this preparatory stage.
2. Tanning
[Tanning to dyeing and fatliquoring]
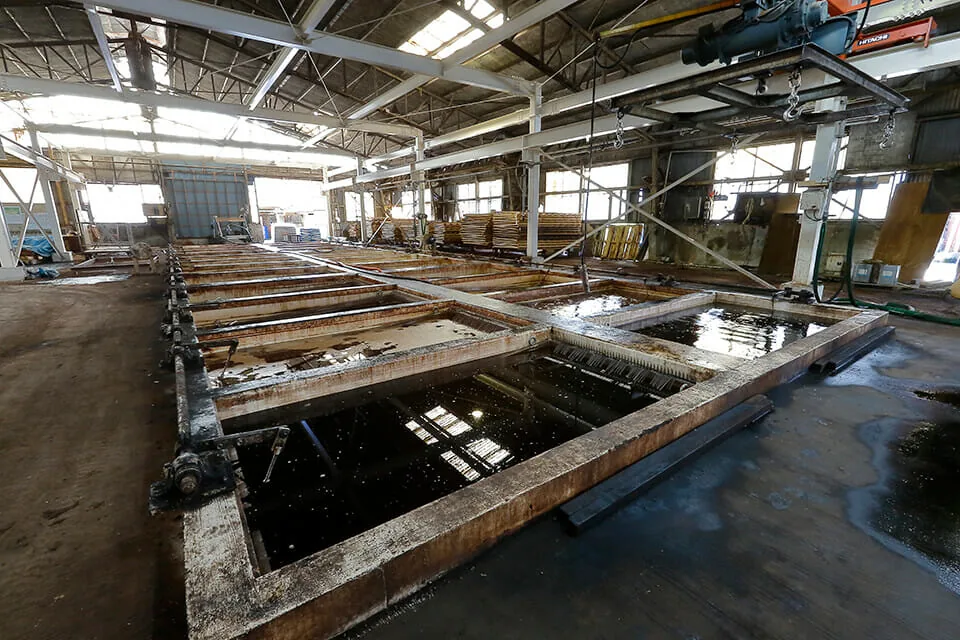
With preparation complete, the tanning proper begins. Tanning agents are made to penetrate the hide, giving it heat resistance and durability. Tanning can be done in a drum or by steeping the hides in pits. Afterward, the excess chemicals are rinsed away. The leather is dyed if required, and oils are added. What comes next depends on the intended finish.
3. Post-treatment
[Setting to drying]
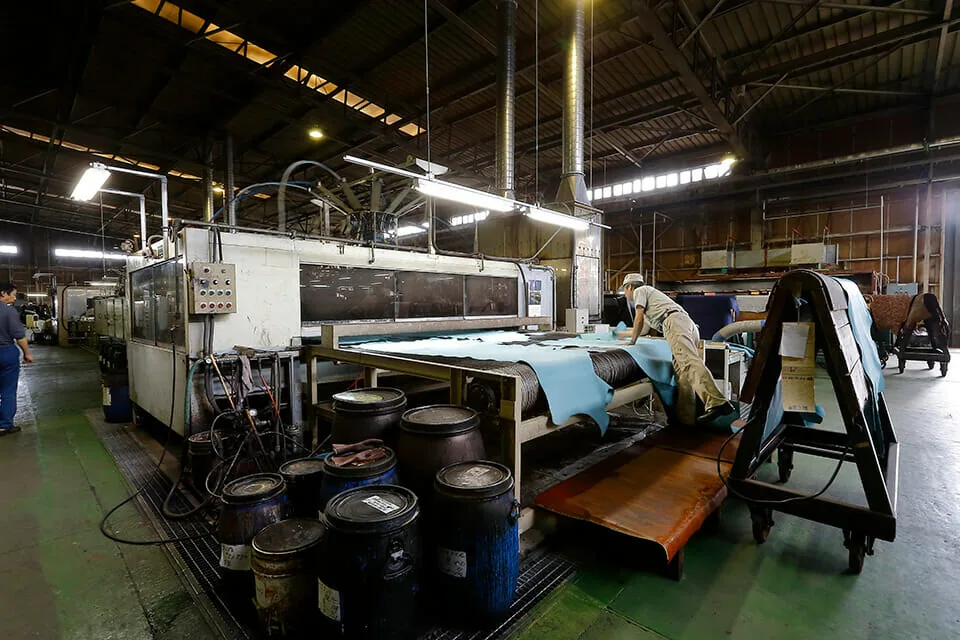
A setting-out machine removes excess moisture while stretching out the parts that shrank in the earlier steps. After drying by whichever method suits the leather, the hides are given the right amount of moisture and kneaded to make them supple and resilient. Napped leathers require an additional step called gin-muki, in which the grain is buffed off with sandpaper.
4. Finishing
[Coating to inspection and shipping]
Coating is done either by immersing the leather in dye or by spraying on pigment, and it adds durability and water repellency. After coating comes the final finishing: machines give the surface its sheen, and ironing makes it more beautiful still. Embossing is done where needed, and finally the leather is inspected and shipped.