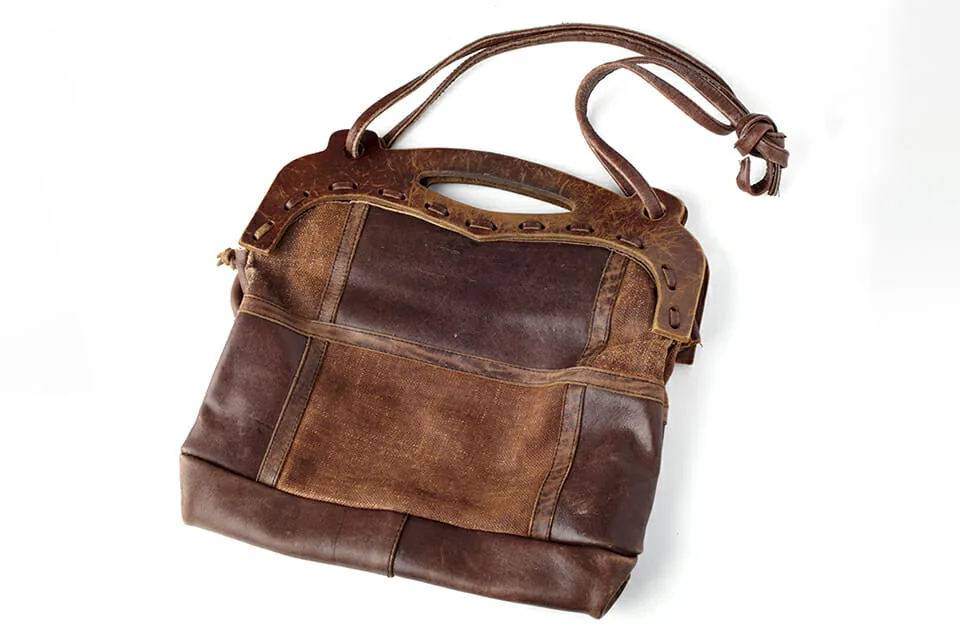
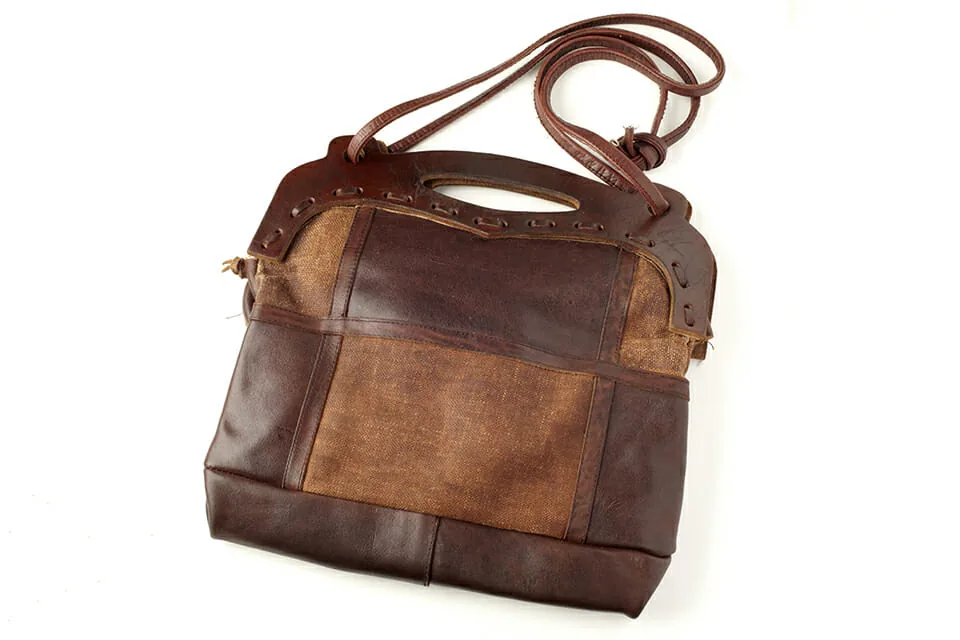
A well-used women’s bag with the leather worn away at the handles and base. Because it was originally finished with dyes that give a naturally uneven look, its wear is not very conspicuous even after long use—but worn patches and scuffs like these still catch the eye.
Matching the natural texture
Dye without worrying about unevenness
So this time, we decided to redye it. This is not the full-scale method of immersing the leather in dye, but a simple approach of applying dye with a cloth, as if painting it on. Since the bag already has a natural texture, a little unevenness in the dyeing is nothing to worry about.
Once the dye has dried, fix it with a binder, then apply emulsified cream to replenish the oils lost over years of use, and finish by bringing up a shine.
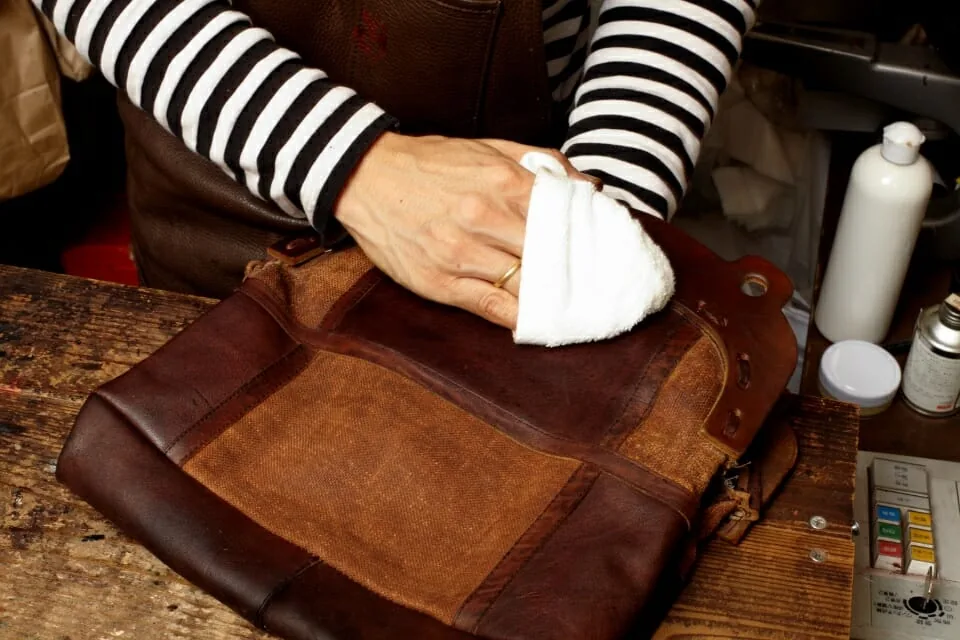
A women’s bag combining canvas with heavily used leather. The color has worn off around the handles, which are constantly touched, and on the base, which rubs whenever the bag is set down, and it bears countless scratches.
Step 1.
First, remove dust from the surface of the bag—basically just a dry wipe with a soft cloth. When you start dyeing, test in an inconspicuous spot to see whether the dye color is a good match.
Step 2.
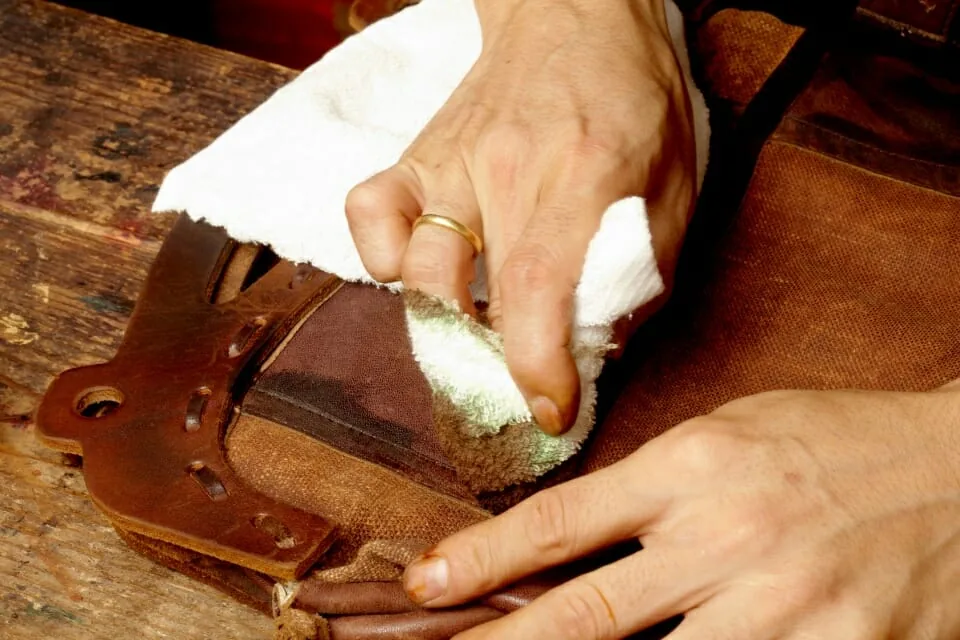
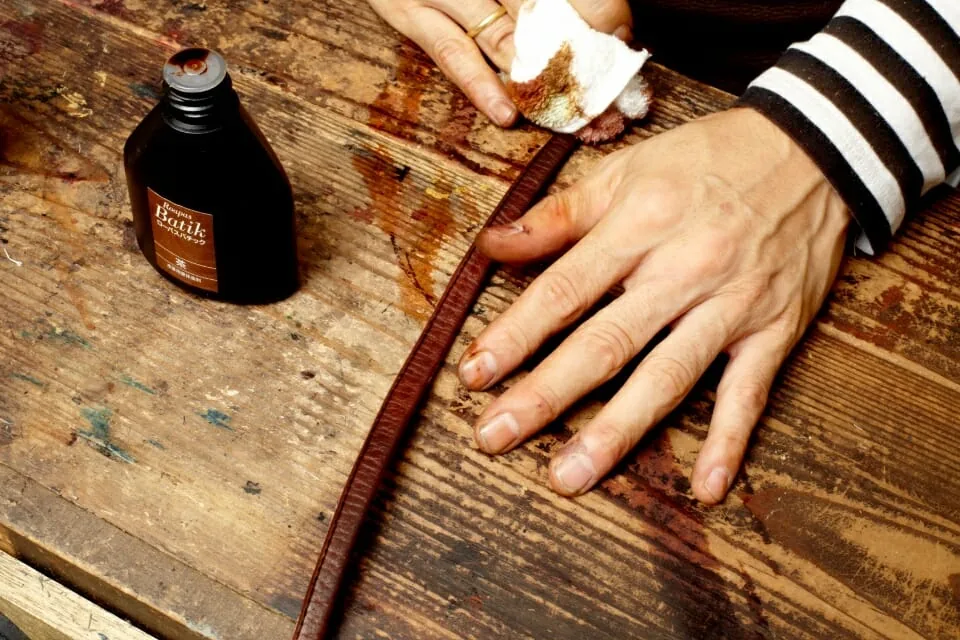
Begin applying dye at the leather patches over the seams, where the color has become uneven. Add a little dye at a time to the dyeing cloth and press it in. Work especially carefully on the palest areas.
Step 3.
The corners of the base, where the surface is scuffed and damaged. Dye soaks in as soon as it is applied, so apply it generously. While still wet, the dye looks darker than the finished result.
Step 4.
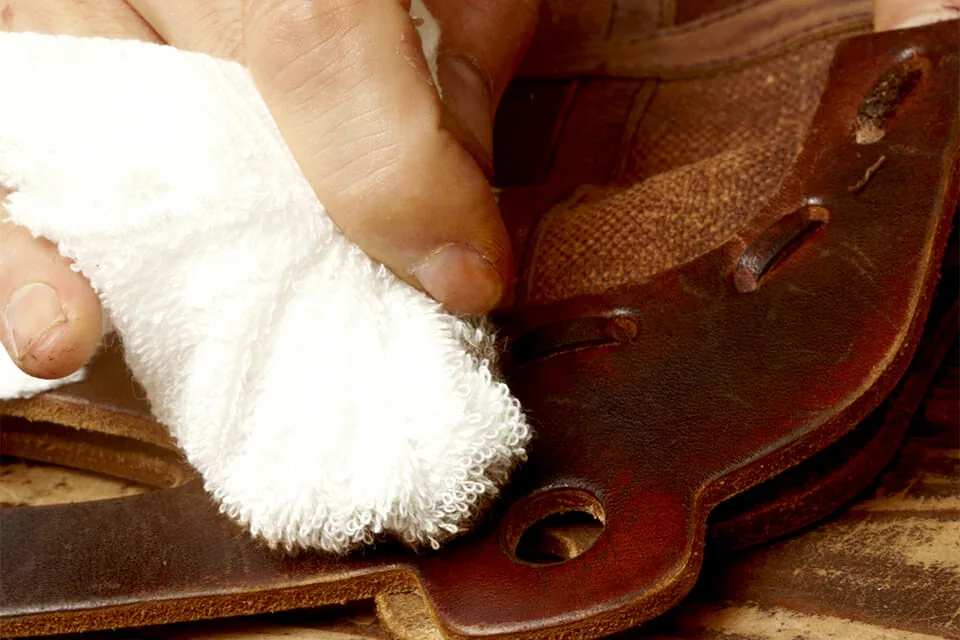
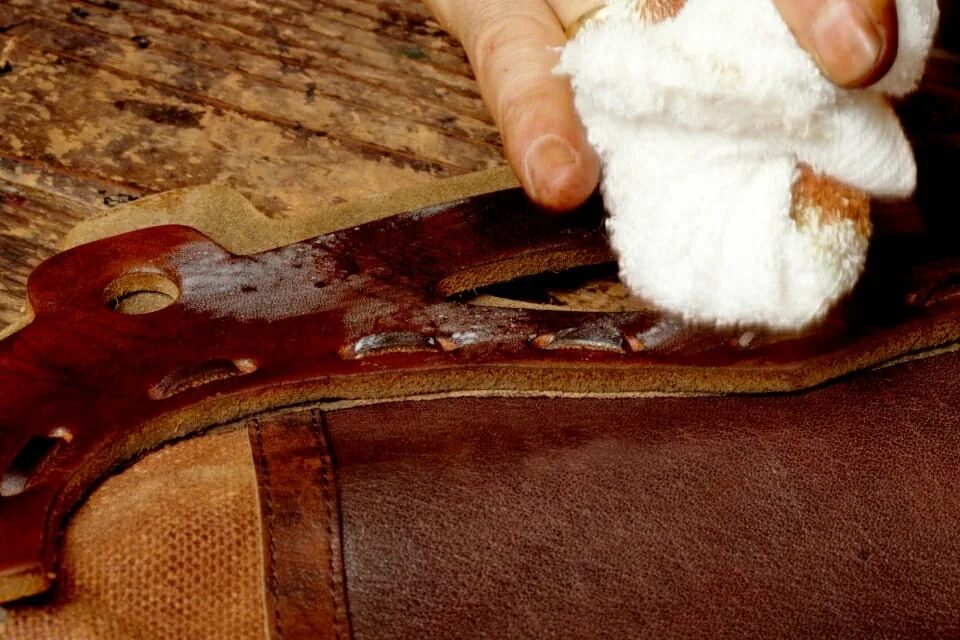
Press the dyeing cloth firmly into fine areas such as seams and leather edges, too. Load the cloth generously with dye and dab it on; even in these spots the leather will take the color well.
Step 5.
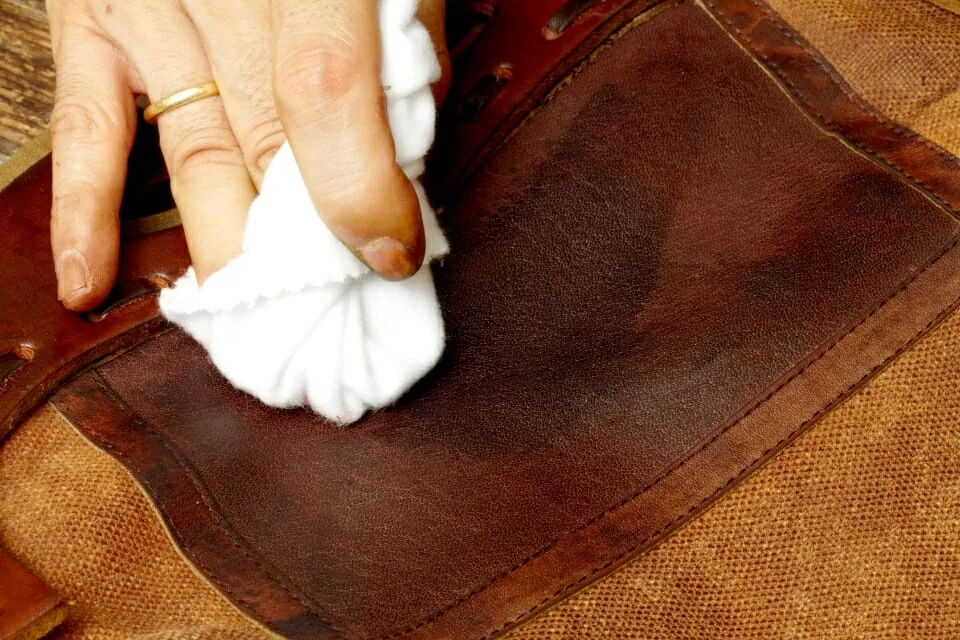
When dyeing large areas, work the dye in gently with the pads of your fingers. Since this time we are making use of the original unevenness, dye evenly while keeping an eye on the overall tone.
Step 6.
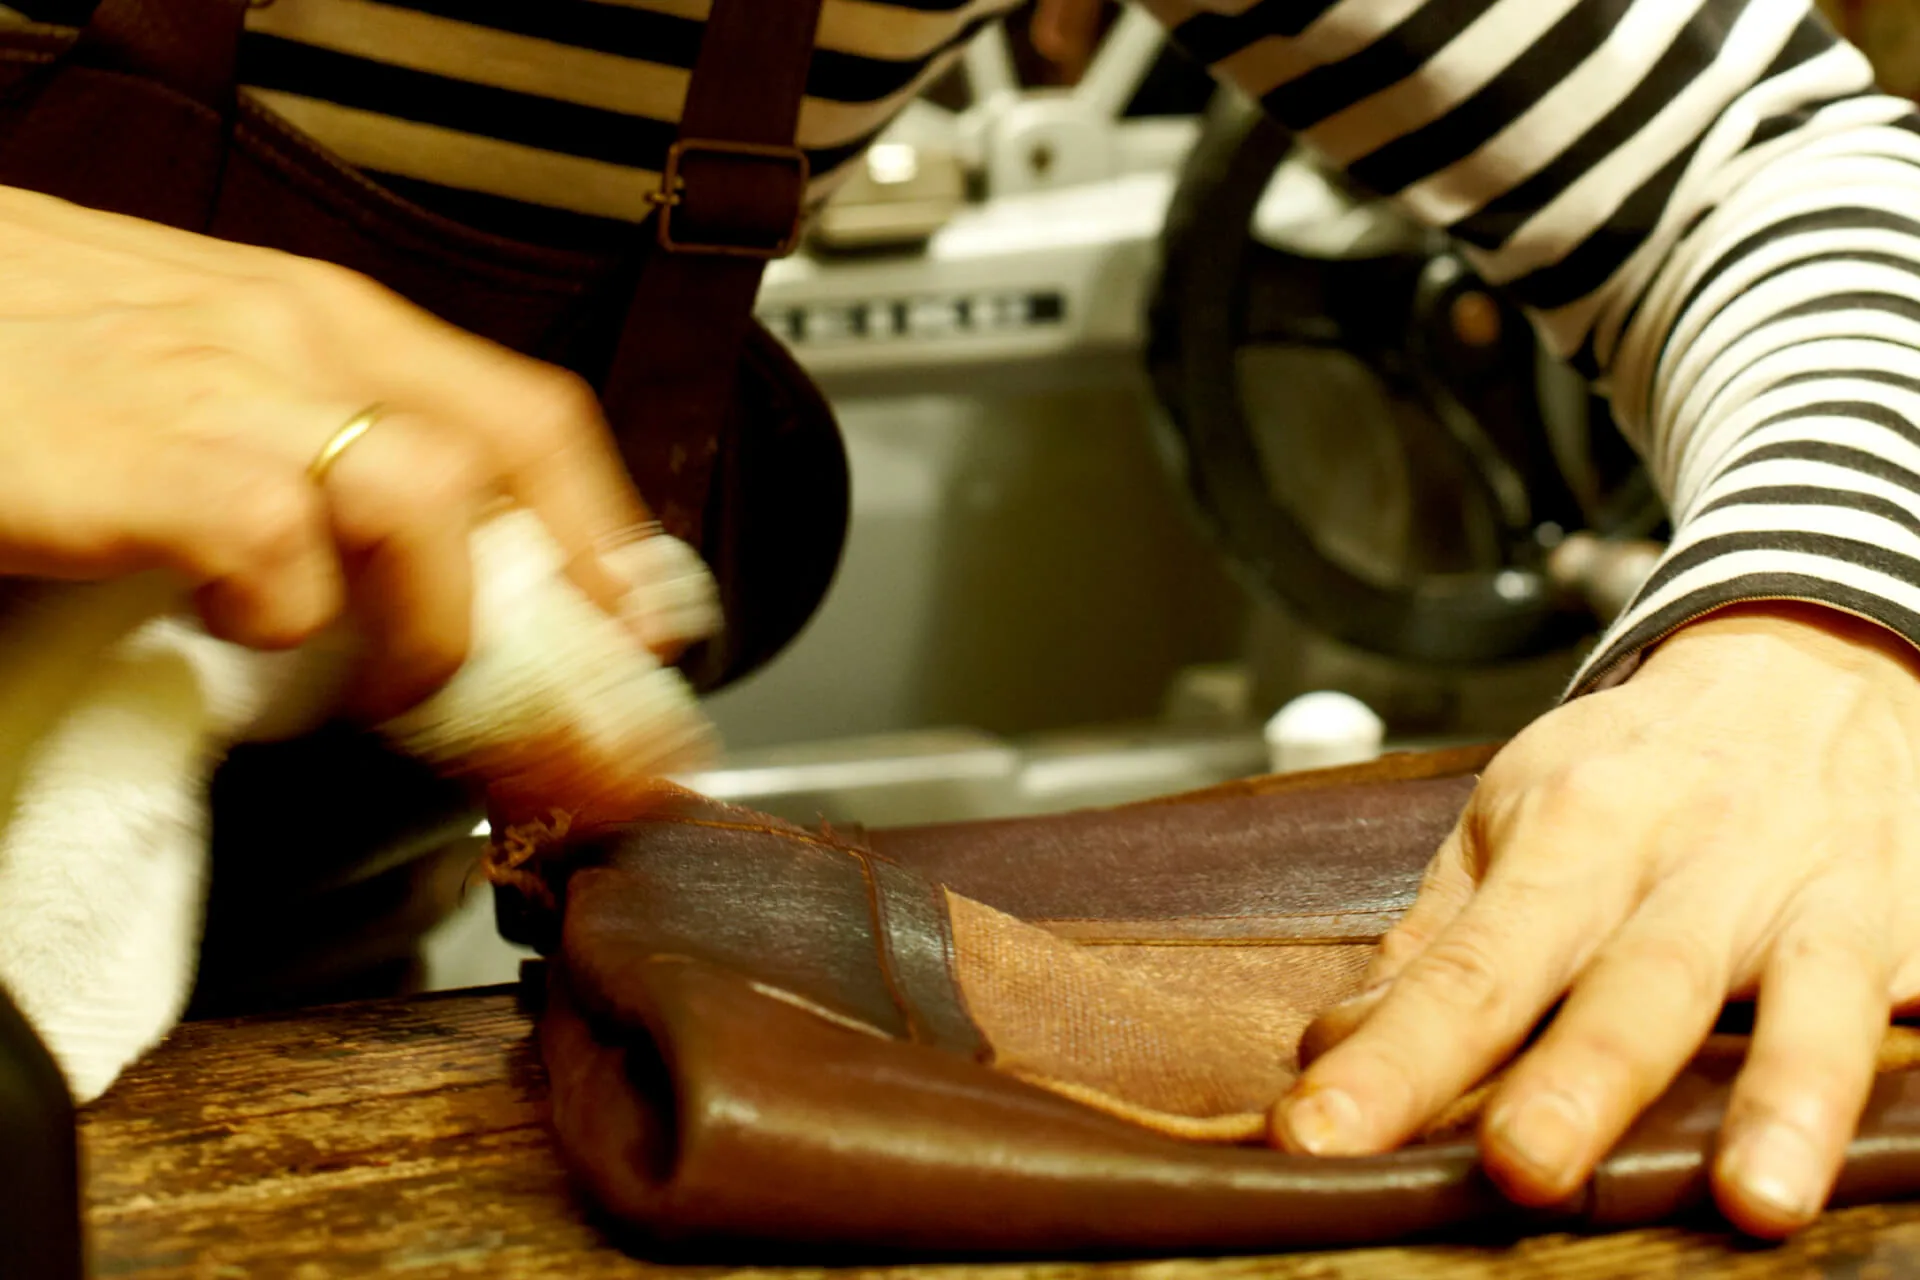
Once the whole bag is dyed, wait for the dye to dry, then stabilize it with a binder. Next, nourish the leather with emulsified cream and polish the surface with a clean cloth to bring out a shine.
Step 7.
The shoulder strap of this bag is also made of leather. It, too, is scuffed and worn, so replenish its color with dye. The damage is severe, so apply the dye generously.
Step 8. Done!
The scuffed, faded and scratched areas had stood out in a lighter color. Now that the dye has penetrated deep into them, they blend with the surrounding leather, which the dye has lightly tinted, and the wear and scratches are no longer noticeable.
Care products for faded color
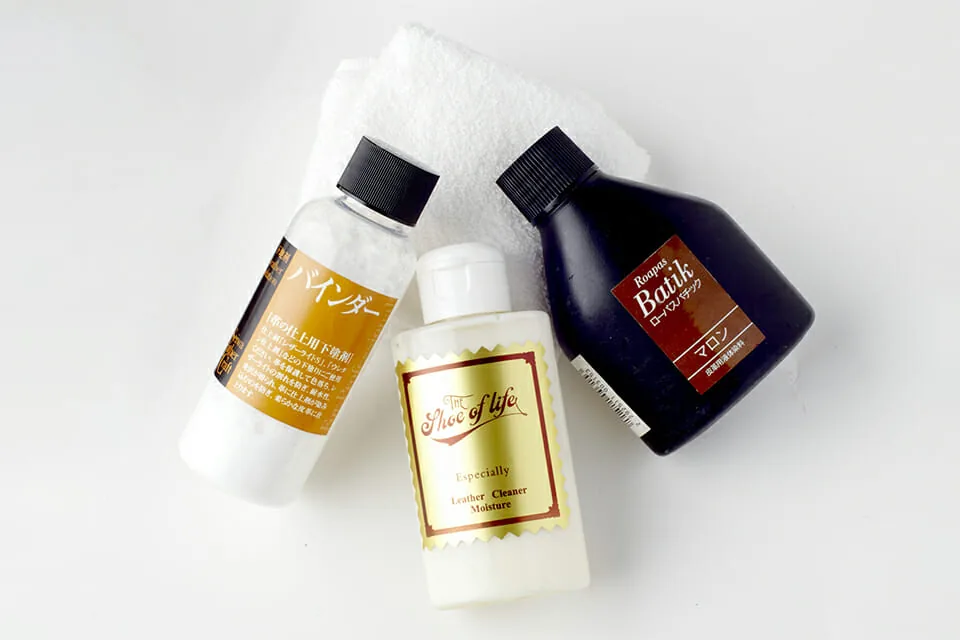
1. A water-based liquid leather dye to replenish faded color. This time we chose a slightly darker brown to match the bag. Seiwa Ropas Batik Marron (¥315).
2. An emulsified cleaner that removes dirt and oils absorbed into the leather. The Shoe of life Moisture Cream (¥1,260).
3. A finishing base coat for fixing the dye. Seiwa Binder (¥262).
4. A cloth for applying dye. Soft materials such as towels or flannel work best
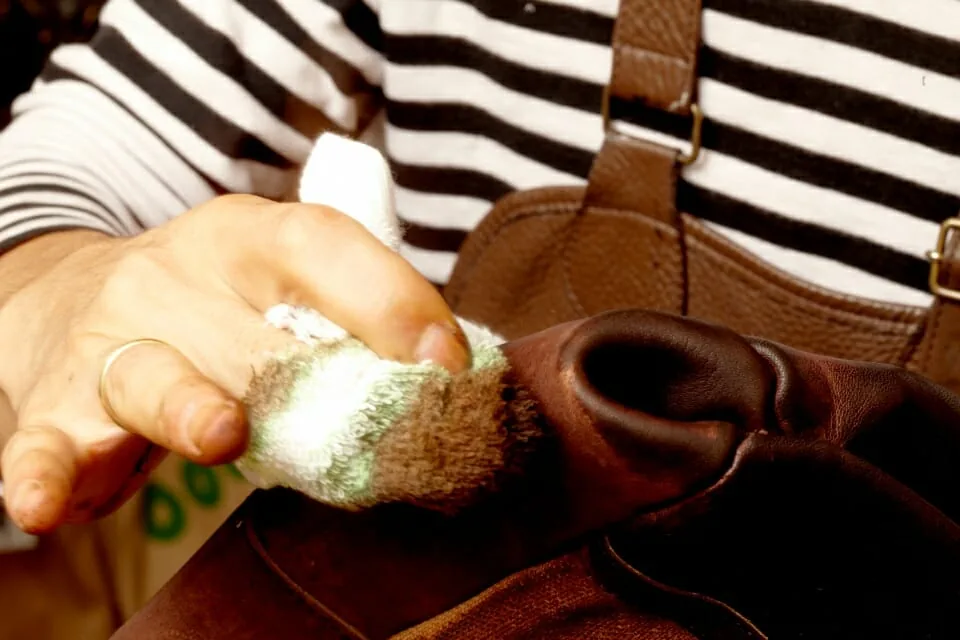
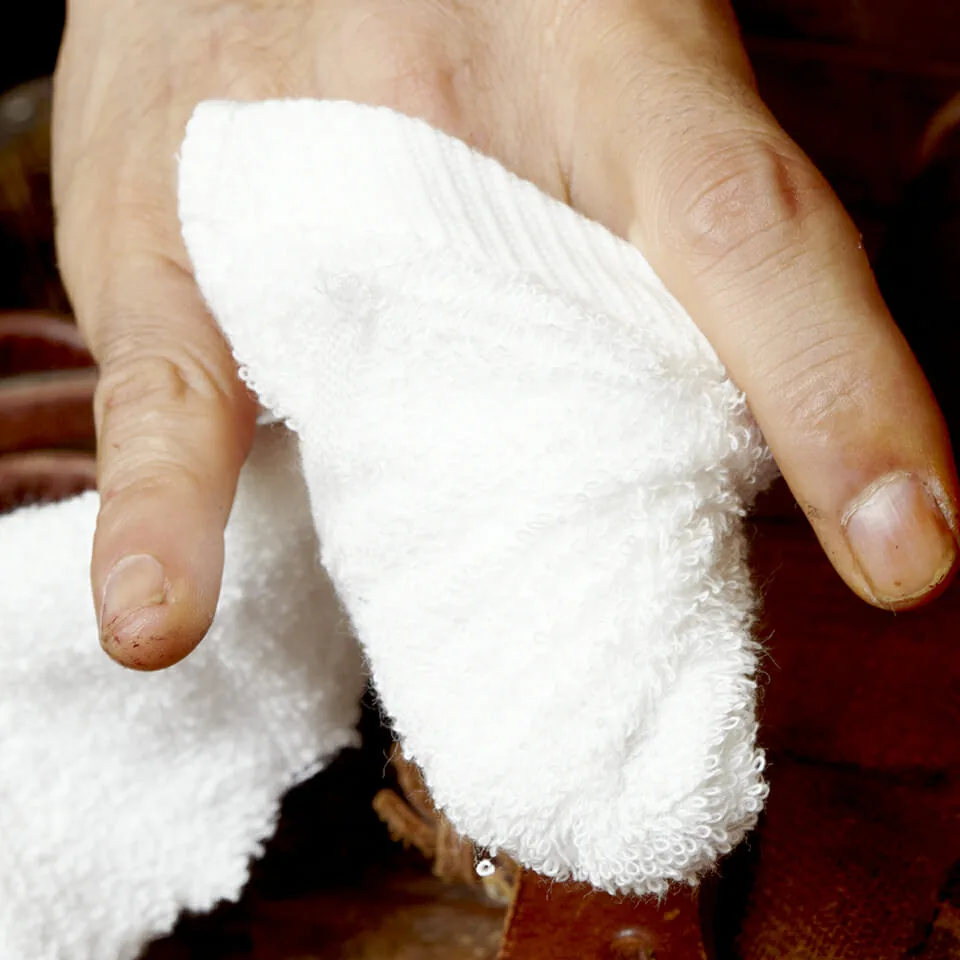
Using the middle and ring fingers keeps the pressure light
Katsukawa wraps the dyeing towel around the middle and ring fingers. Many people use the index finger, but that tends to apply too much pressure. The ring finger naturally exerts less force, allowing for delicate work. These same two fingers are used for polishing as well.