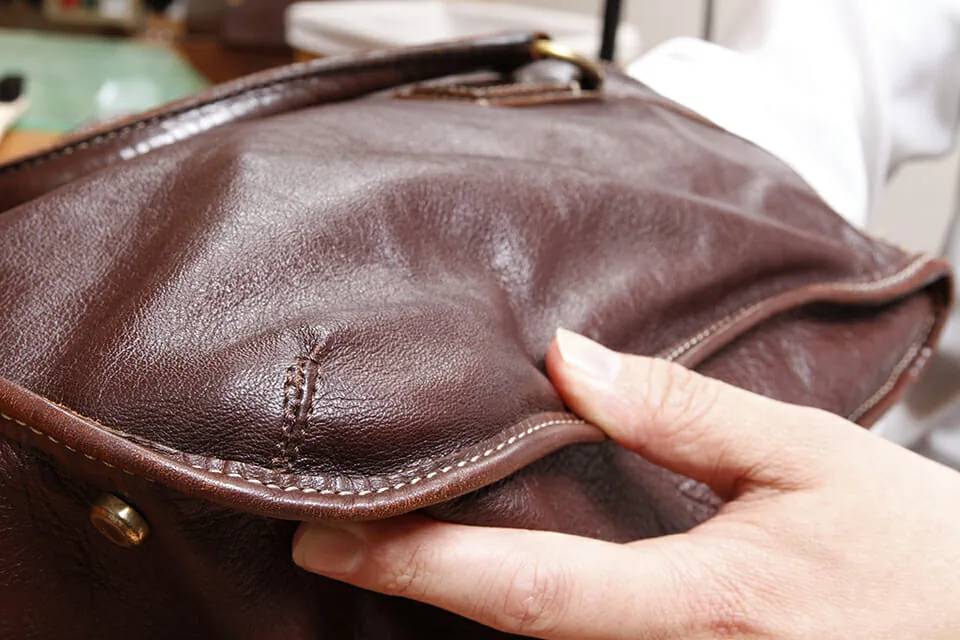
Carrying heavy loads, combined with climate effects such as dryness and humidity, can leave a bag deformed. Simply pulling it by hand to straighten its outline makes a big difference to its overall look. Stuffing it afterward and leaving it for 1–2 days makes the fix even more effective.
The trick to stretching the leather smoothly is
“to work somewhere warm, such as in front of a heater,”
says Ozeki. Leather stretches more easily when warm, and leather artisans apparently do this even in midsummer. Leather also stiffens as it dries, so applying oil beforehand makes the job easier.
Once repaired, store the bag stuffed with towels or the like, hanging in a well-ventilated place. This is recommended as it helps prevent it from losing its shape again.
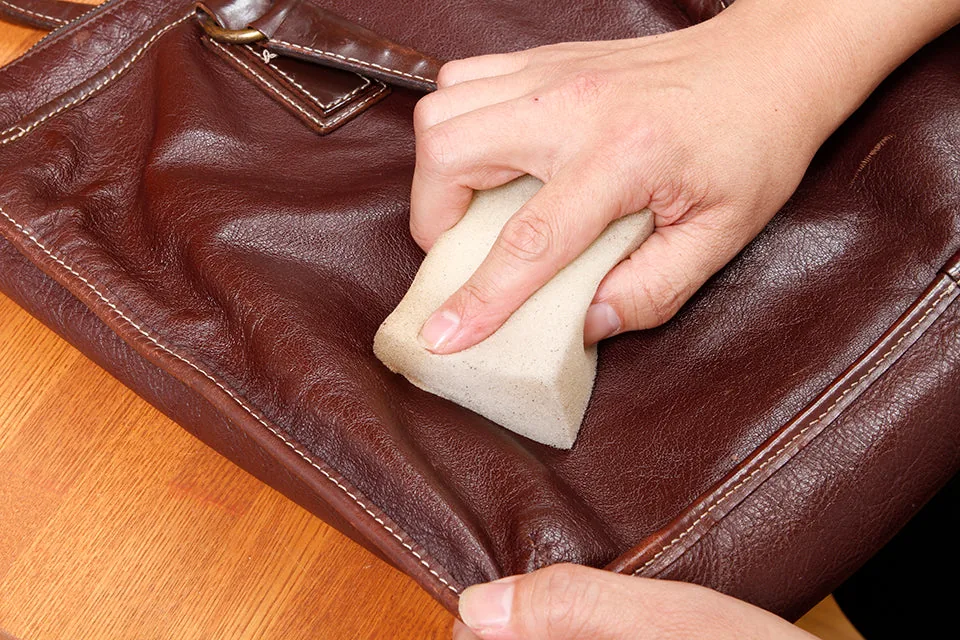
Step 1. Soften the leather with oil
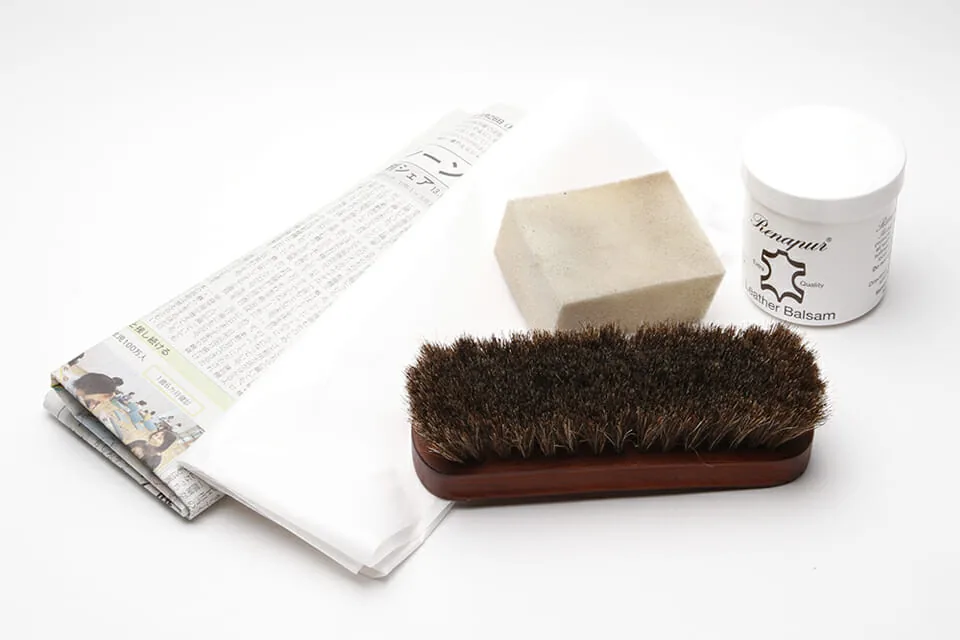
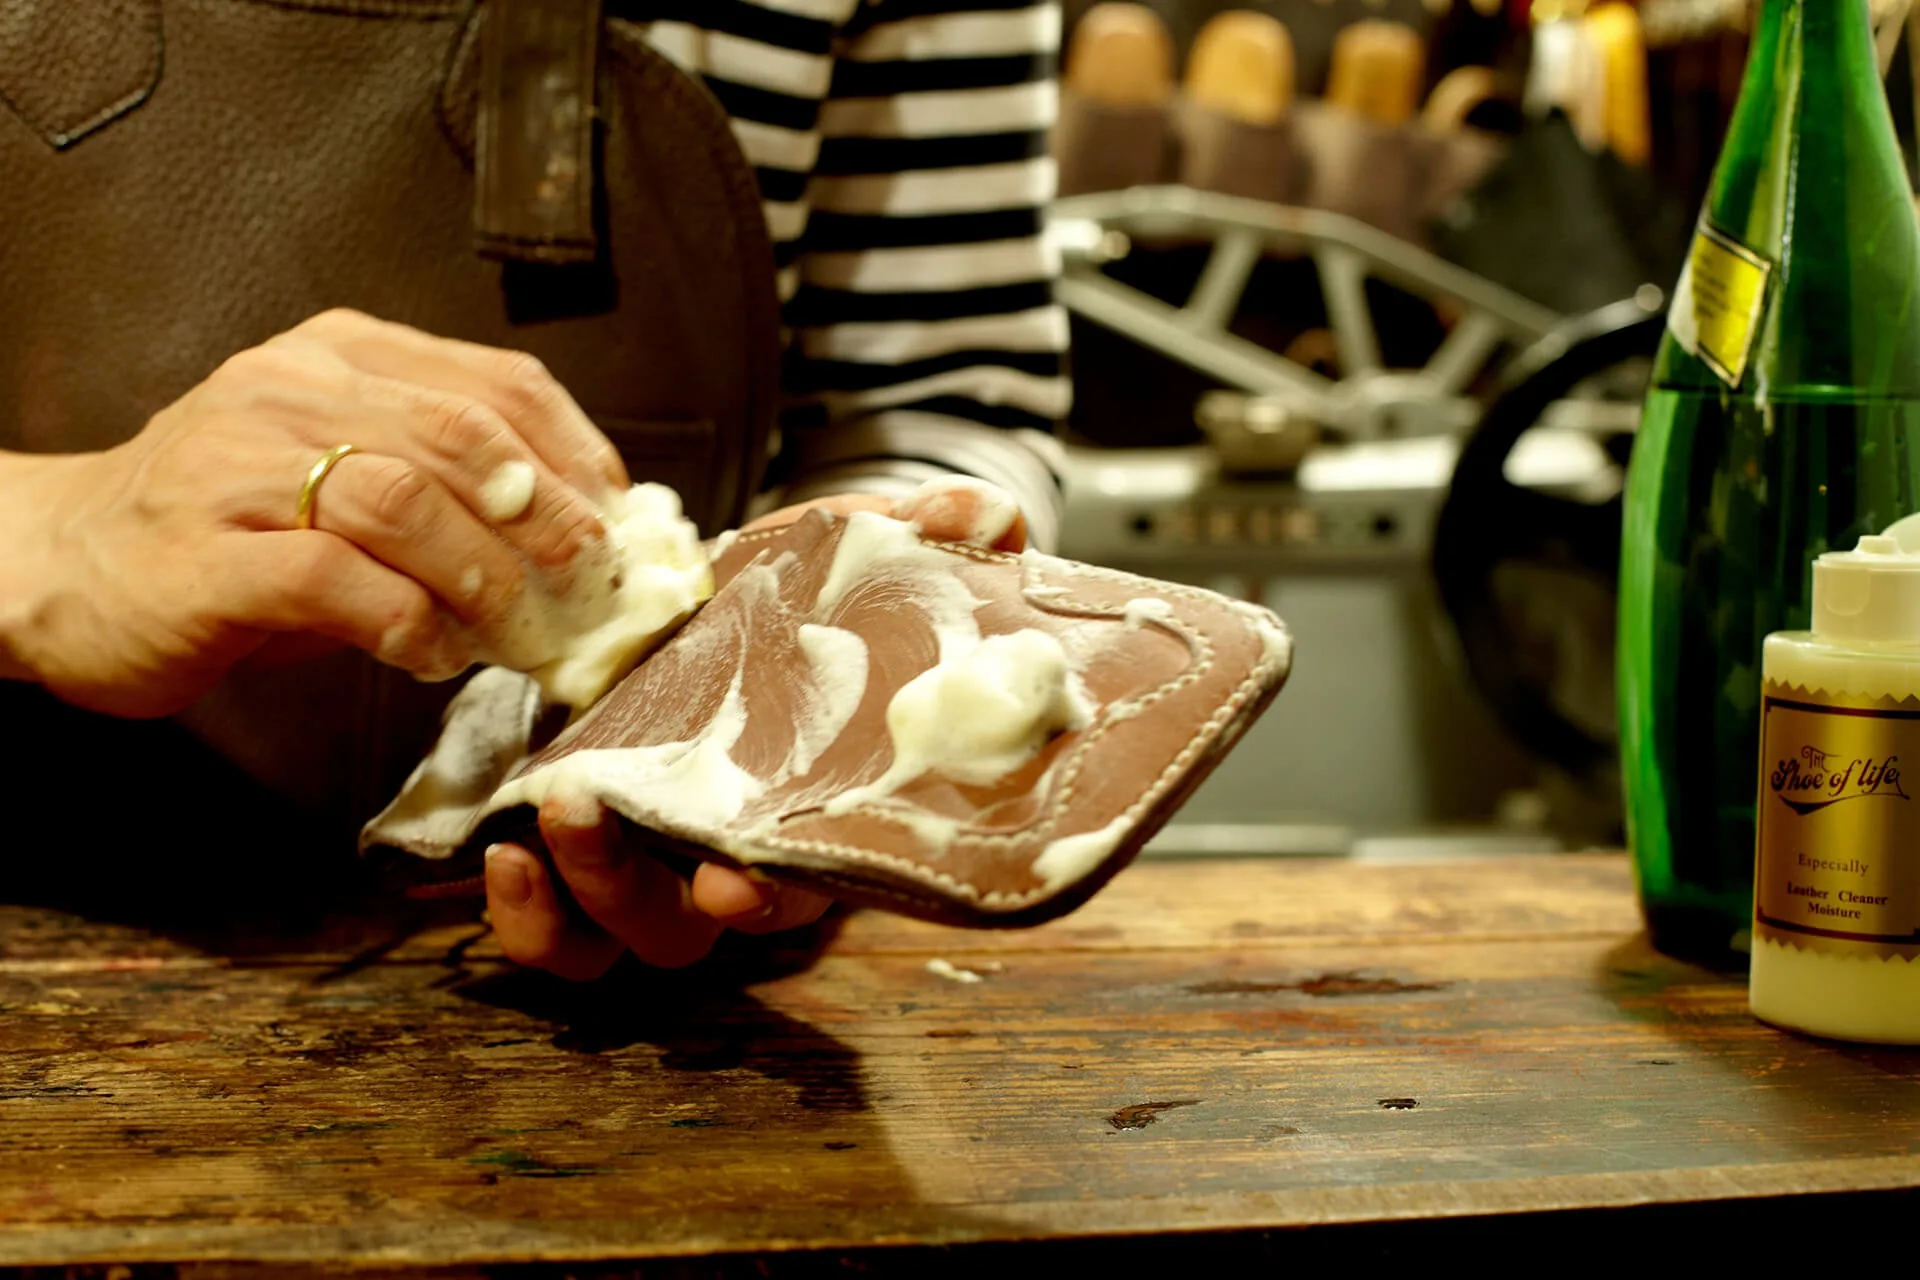
First, brush off dirt and dust, then apply oil (Renapur) with a sponge. The oil softens the leather, making it easier to stretch in Step 2 and beyond.
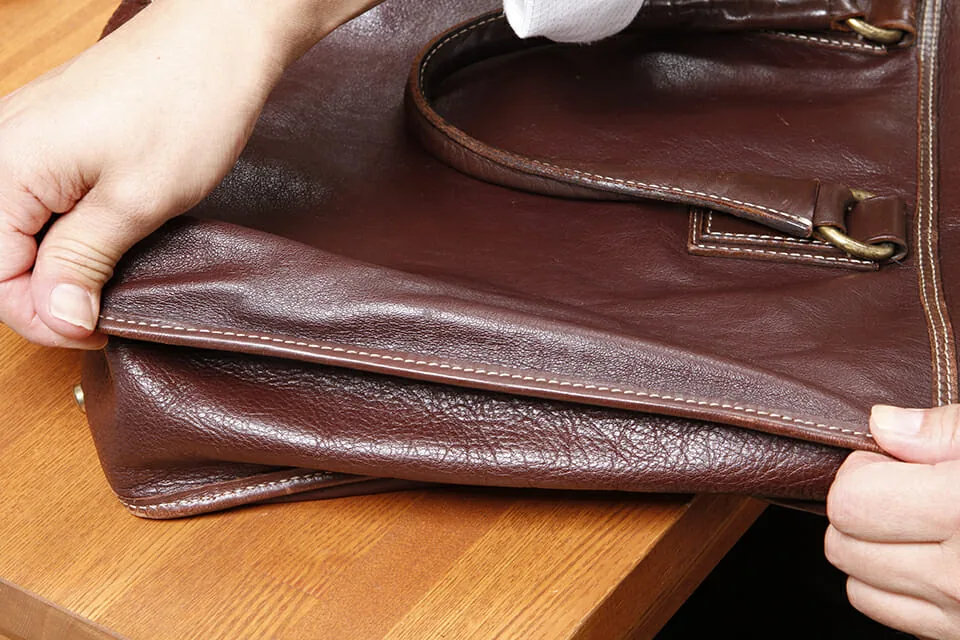
Step 2. Correct the warped outline
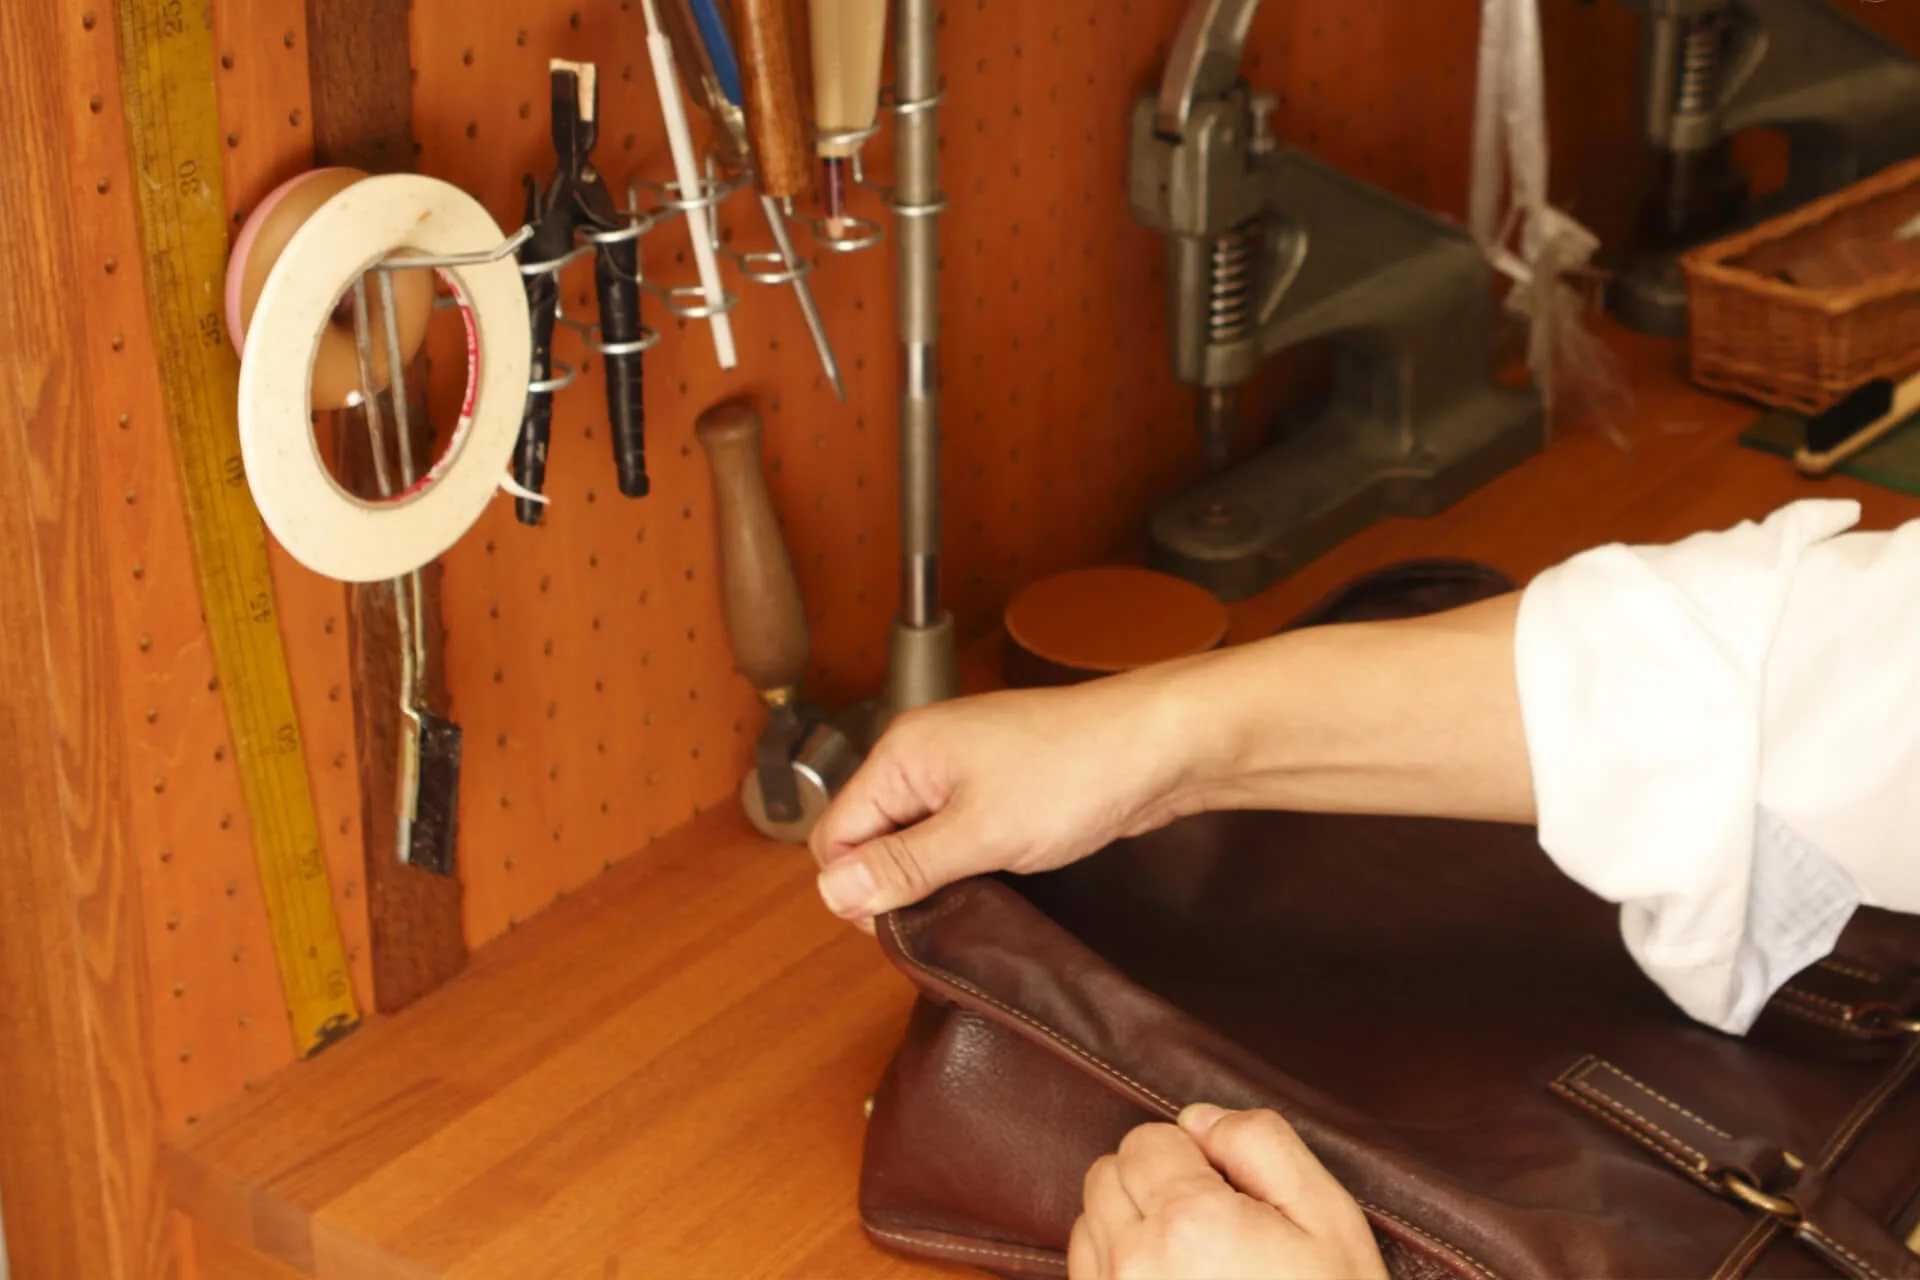
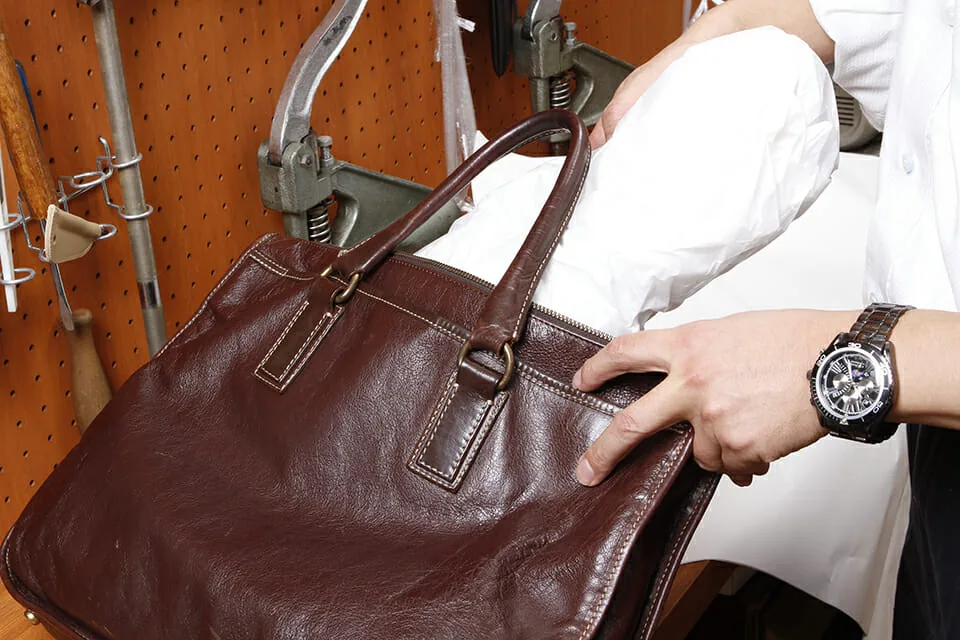
Pull by hand on any deformed areas, such as warped lines along the sides or bottom and a crushed gusset, to restore the original shape. If the leather is on the firm side, you can apply quite a bit of force!
Step 3. Push the corners back out from inside
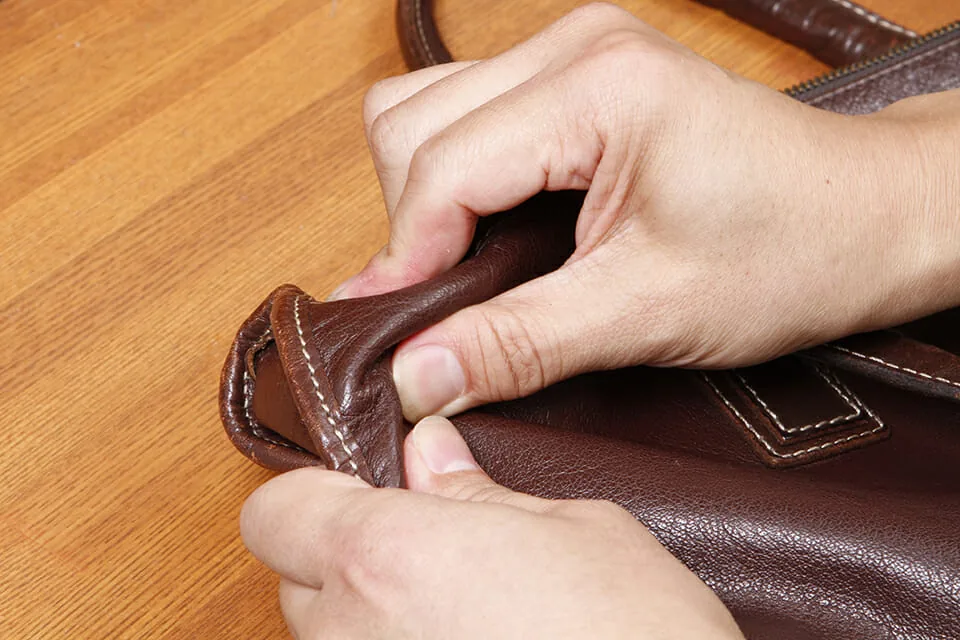
Push dents in the corners out from the inside with your fingers to reshape them. Instead of fingers, you can also use a round-tipped rod such as a toothbrush handle. Push them back carefully so the corners come out crisply.
Step 4. Knead stiff areas to loosen them
When the leather is too stiff to pull, kneading it with your fingers warms it through friction and softens it. Rather than tackling a large area at once, stretch it a little at a time while kneading.
Step 5. Repair small deformations
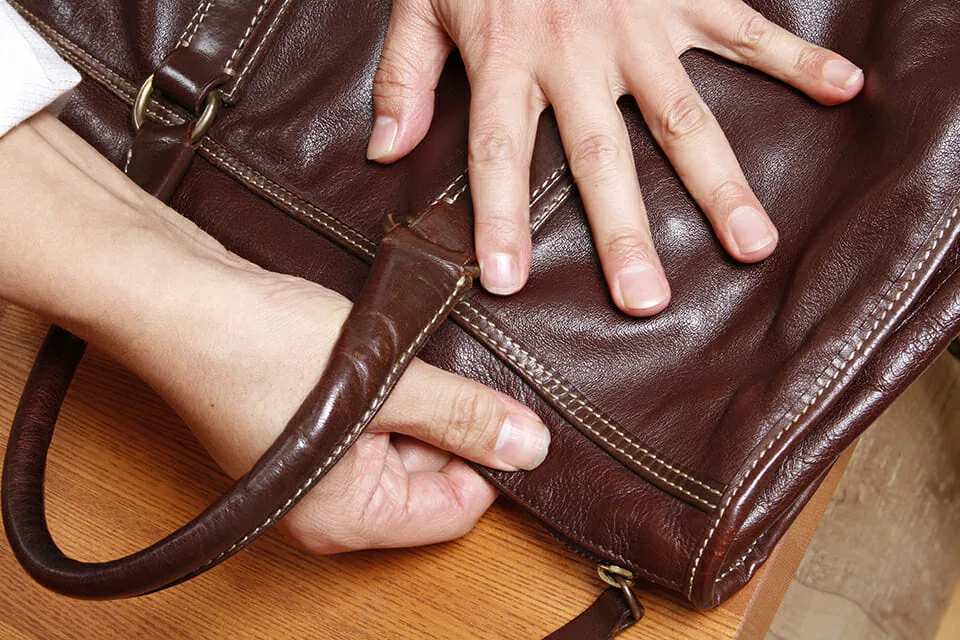
Areas that bear the same load constantly, such as near the handles, deform easily. If you notice warped lines or wrinkles, correct them by pulling and stretching with your fingers.
Step 6. Make stuffing from newspaper
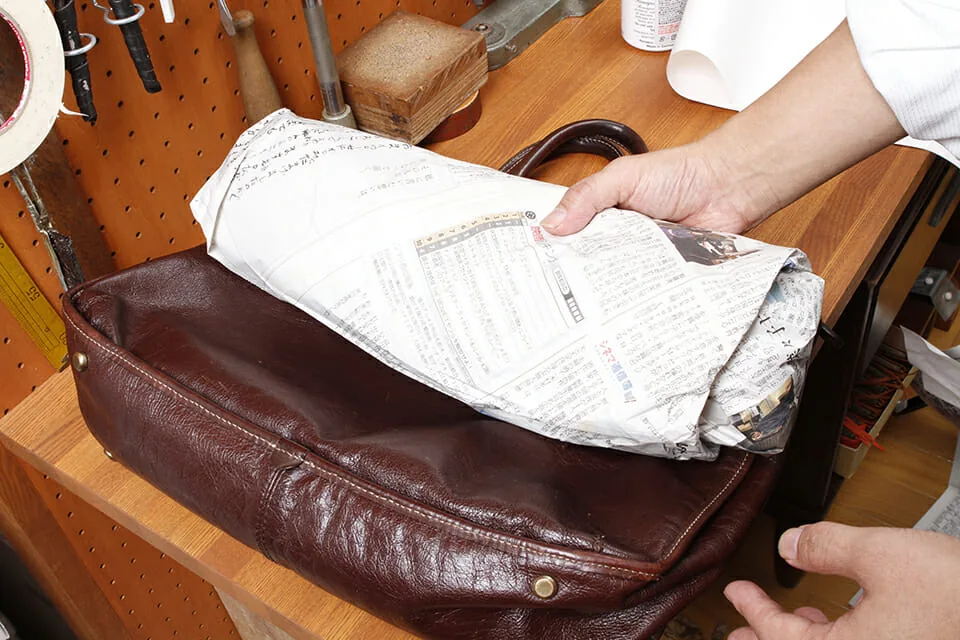
Fold newspaper into several pads, aiming for them to be slightly larger than the bag's outline. We recommend wrapping them in white paper at the end to prevent ink from transferring to the bag.
Step 7. Stuff the bag to hold its shape
To set the restored shape, fill the bag tightly with stuffing. When packing it in, the key is to leave no gaps, imagining you are pushing wrinkles and warps firmly outward.
Step 8. Hang for 1–2 days
Once stuffed and shaped, hang the bag in a well-ventilated, shady spot and leave it for 1–2 days. Hanging prevents it from losing shape, and the newspaper inside absorbs moisture, helping the bag return to form more readily.
Step 9. Done!
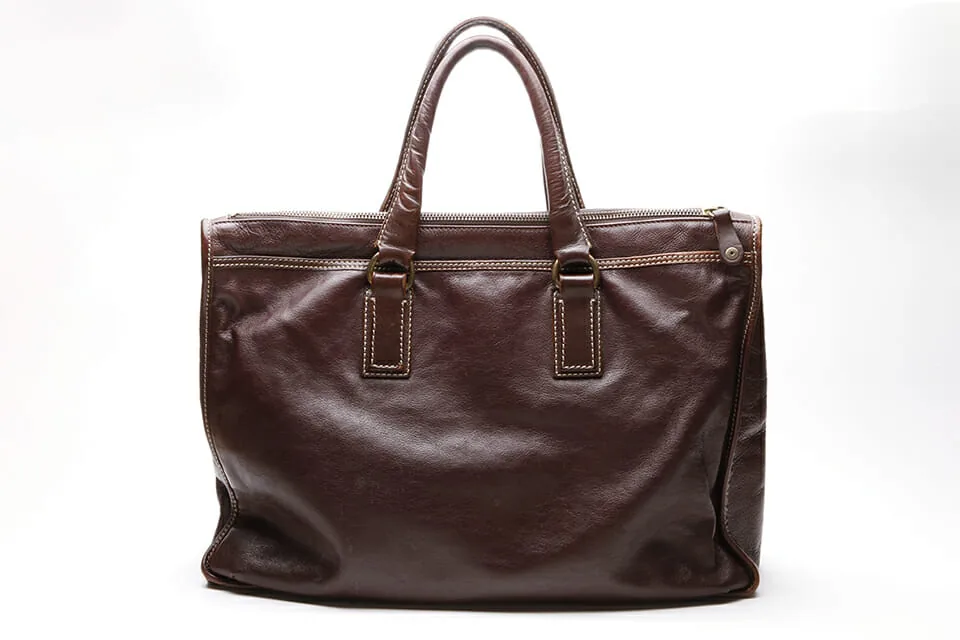
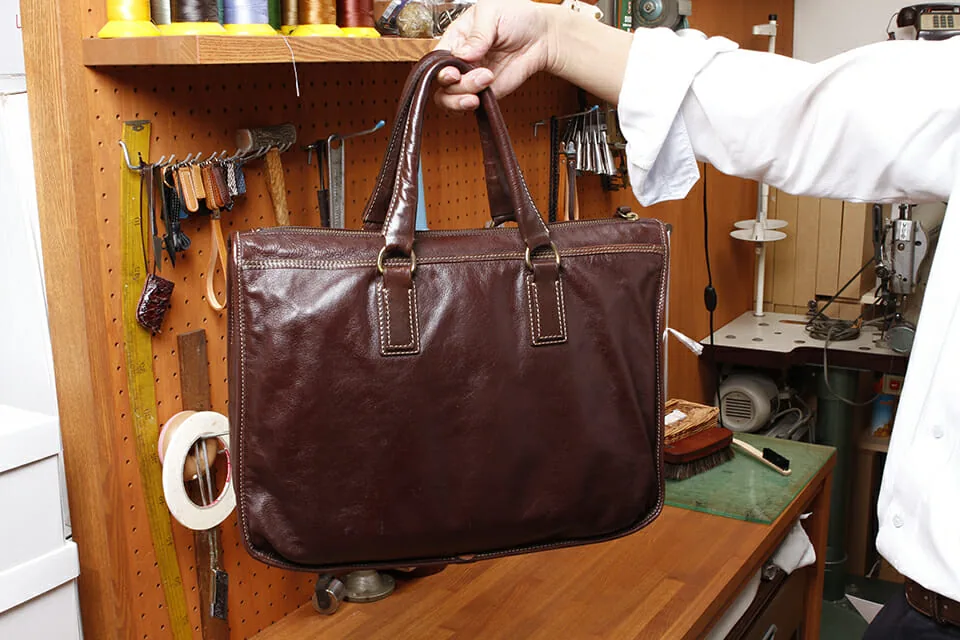
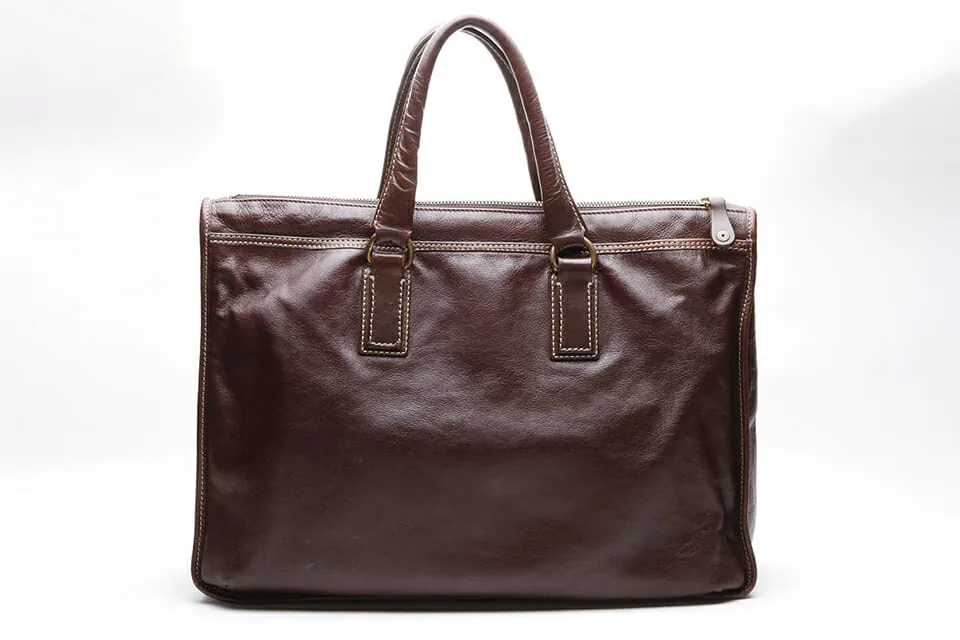
The corners that had caved in are plump again, and the warped lines near the handles are straight. The leather has gained a sheen, too, giving it a more upscale look!
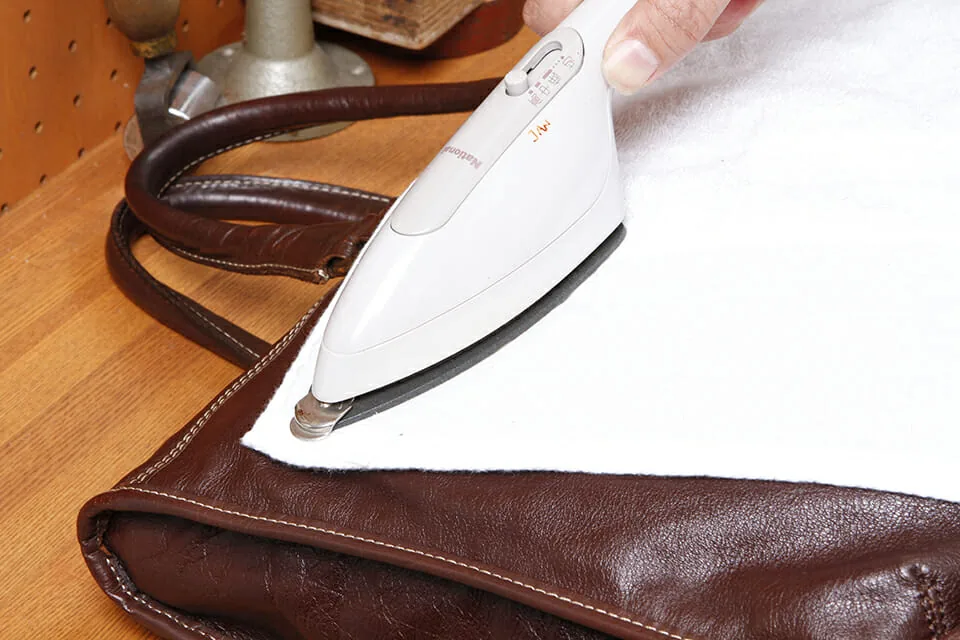
Use an iron for stubborn warping!
For warps and deep wrinkles that pulling by hand won't fix, an iron is effective. Set it to low heat and press through a pressing cloth to stretch them out. Be careful, though, as some leathers can be damaged.